
How to become a wedding photographer in 7 easy steps
An easy to follow step by step guide to get aspiring wedding photographers started. Wedding photography is all about capturing a couple’s special moment for
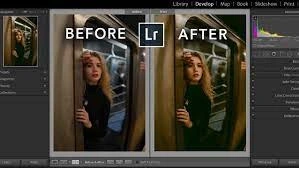
Lightroom is a powerful tool for editing images to enhance their quality and create an aesthetic that suits your style. Editing photos takes a lot of practice and can be done very subtly to make an image stand out or it can be as creative as you want.
Editing can make or break an image and after a lot of work spent on creating the perfect image, viewing the before and after can bring a lot of satisfaction and a sense of achievement to the user.
Fortunately, Lightroom provides an easy way to compare before and after images. The process differs whether a desktop computer is used or a mobile device, but this guide will take you through the steps of both.
The key to viewing the before and after images in Lightroom is to ensure that you are working in the “Develop” module. You will not be able to view the before and after images in other modules.
There are a few different methods to achieve this which we will discuss below.
In the “Develop” module you can press the backslash key (\) for both PC and Mac. This will bring up the image before editing.
In the top right hand corner of the image you will see text that says “Before”. This is how you know that you are looking at the image before any editing has taken place.
To view the edited (after) image, the backslash key (\) on the keyboard can be pressed again and the image will revert back to the finished edited version.
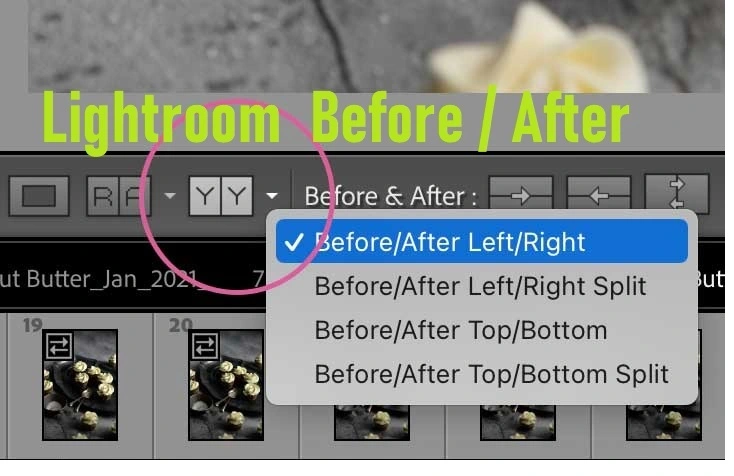
Sometimes it might be necessary to view the before and after images side by side. This can be done by pressing the Y|Y button on the toolbar which looks like this:
If the toolbar is not visible, go to “View” and then select “Show Toolbar”.
Pro Tip: A shortcut on both Mac and PC to display the toolbar is to press Shift + Y on your keyboard.
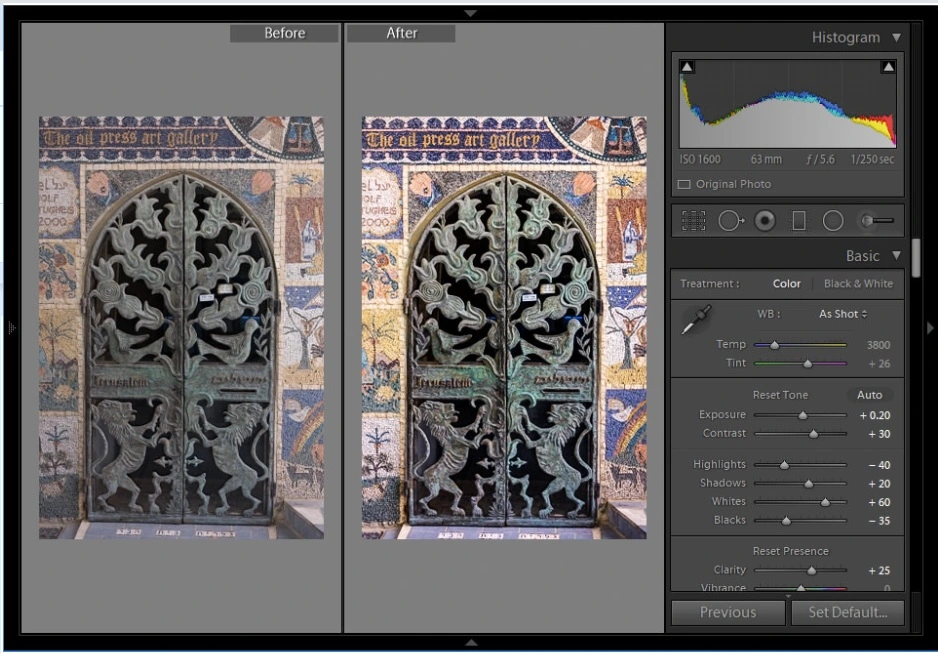
The before image will be displayed on the left of the screen and the after image will be on the right. This view works best for portrait style photos.
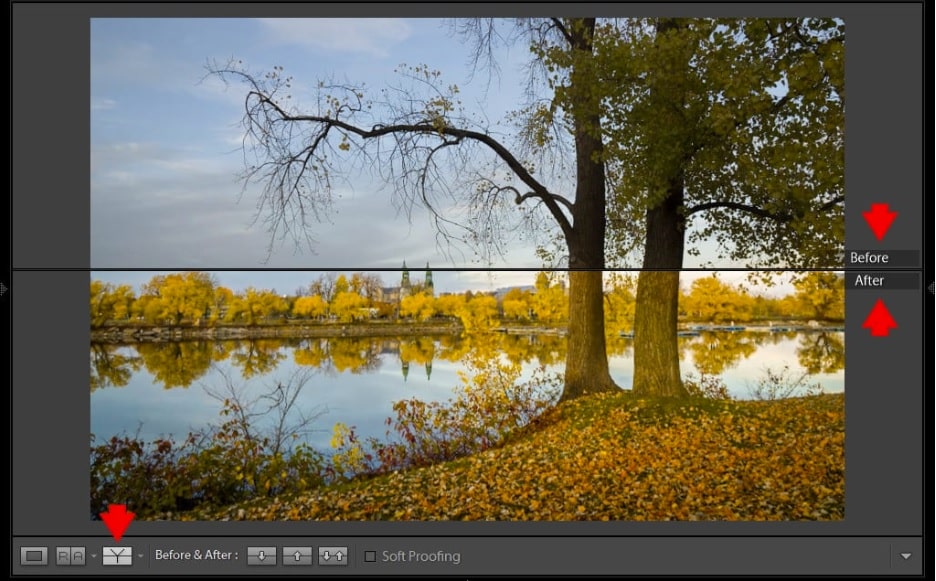
To change the view to a top / bottom split, it can easily be changed by selecting the arrow next to the Y|Y button and choose a viewing mode.
This view works best when dealing with images in a landscape format and will stack the images on top of each other.
The other two options named “Before/After Left/Right Split” and “Before/After Top/Bottom Split” will take the full image and treat it like a split screen as per the example below:
“\” – replaces the after image to the before unedited version.
“Y” – displays Before & After Side by Side.
“Shift” + “Y” – displays Before & After Left/Right Split.
“Alt”+”Y” – displays Before & After Top/Bottom
“Alt”+”Y” and “Shift + Y” – displays Before & After Top/Bottom Split
“T” – brings the toolbar into view
Lightroom for mobile, unlike the desktop version, is free to download. Versions are available for IOS and Android platforms. Although it has less features than the paid desktop version, the mobile application still provides users with some of the most powerful editing tools available.
The simplest way of toggling between the before and after image is to hold your finger over the edited image. This will revert the view to the before image. Releasing your finger from the image will switch back to the after edited image.
This is a quick method of switching between the before and after pictures and can be done as frequently as needed. This allows the user to quickly check the edits that have been made to ensure that the image is following the desired aesthetic that wants to be achieved.
Unfortunately Lightroom for mobile does not give the option for the side by side or the top/bottom view that Lightroom for desktop provides, but the user-friendly solution will still provide you with the satisfaction of seeing your creative edits.
Image editing can be as subtle or as out there as you want it to be. The important thing to remember is that the purpose of editing is to improve the quality of the image.
It is for this reason that the ability to check before and after images is crucial to any editing software worth using. It takes practice and time to master the skill of editing, but being able to reference the original image will quickly tell you if you are on the right track.
Both Lightroom for Desktop and Lightroom for Mobile provides the option to view before and after images, a tool that any professional image editor must have available to them.
For beginner users, existing presets already available in Lightroom can be used to quickly add the desired look and feel to an image. It is then possible to make small adjustments until you are happy with the final results.
The key is to play around with settings, have fun and let your imagination run wild.