
How to become a wedding photographer in 7 easy steps
An easy to follow step by step guide to get aspiring wedding photographers started. Wedding photography is all about capturing a couple’s special moment for
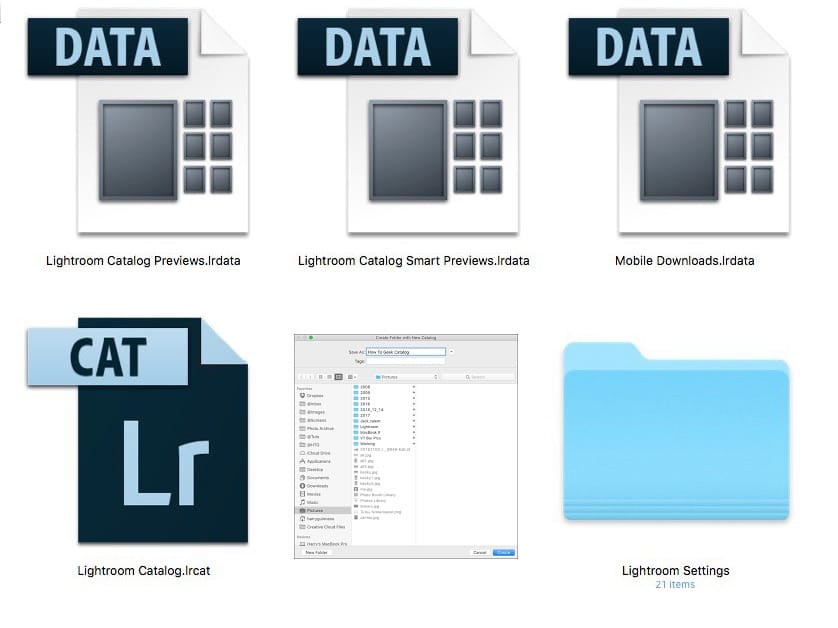 Either way, a well thought out system even for casual users means that should you wish to progress into more professional photography, a system will already be in place that will support your growth.
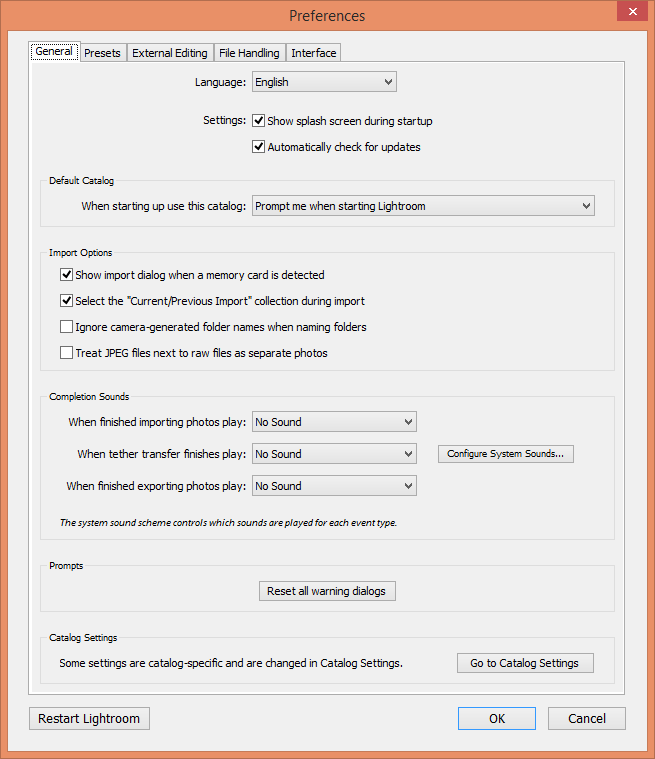 For every Lightroom catalog created the preferences can be set up to meet the needs of the user. This does not have to be set up at the beginning and can always be adjusted later, but it is better to get this step out of the way before it becomes something forgotten.
Customizing the preference allows users to streamline workflow. Go to “Edit > Preferences” and then select the “General” tab. From here you can set which catalogs are opened when Lightroom starts up.
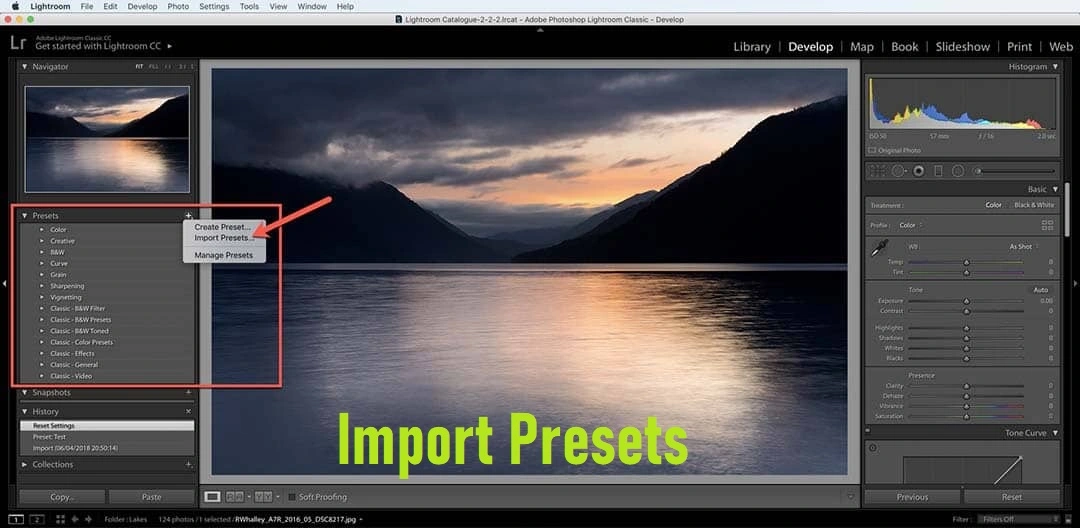
The “Presets” tab allows you to set whether Lightroom stores presets with a catalog. Lightroom can store presets in a general folder or within each of the catalog folders created.
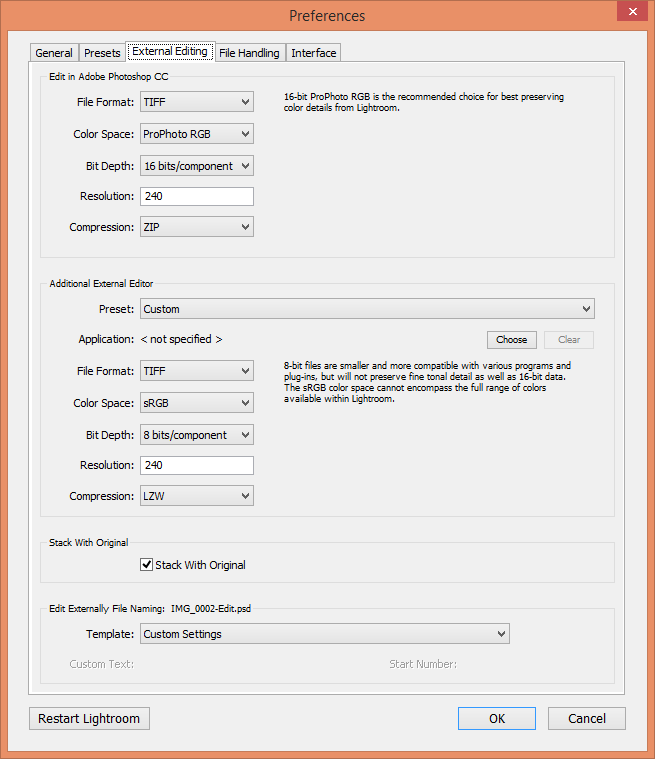
The “External Editing” tab is where you can set the file format if other programs such as Photoshop are also used in the editing process.
For every Lightroom catalog created the preferences can be set up to meet the needs of the user. This does not have to be set up at the beginning and can always be adjusted later, but it is better to get this step out of the way before it becomes something forgotten.
Customizing the preference allows users to streamline workflow. Go to “Edit > Preferences” and then select the “General” tab. From here you can set which catalogs are opened when Lightroom starts up.
The “Presets” tab allows you to set whether Lightroom stores presets with a catalog. Lightroom can store presets in a general folder or within each of the catalog folders created.
The “External Editing” tab is where you can set the file format if other programs such as Photoshop are also used in the editing process.
 “File Handling” is an important setting that allows you to control how files will be imported into the catalogs. These settings will depend on the preference of the user.
Lastly the “Interface” tab is one which usually is left at its default settings by most users.
“File Handling” is an important setting that allows you to control how files will be imported into the catalogs. These settings will depend on the preference of the user.
Lastly the “Interface” tab is one which usually is left at its default settings by most users.
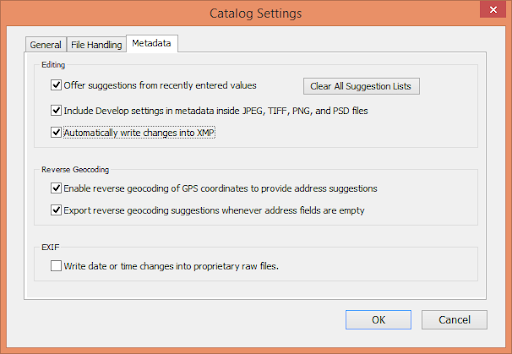 Going through all of the tabs, you will be able to set up how catalogs will be backed up. It is important to note that images and presets are not not backed up here, but only catalog settings and any edits made using various models.
Setting up regular backups is crucial to ensure that information isn’t lost when critical disk failure occurs.
Going through all of the tabs, you will be able to set up how catalogs will be backed up. It is important to note that images and presets are not not backed up here, but only catalog settings and any edits made using various models.
Setting up regular backups is crucial to ensure that information isn’t lost when critical disk failure occurs.
 The left side of the screen is where images can be selected or grabbed from and the right side of the screen features as the destination with import settings that can be modified. The middle section shows all of the images that will be imported.
Lightroom can recognize the difference between a permanent storage, card reader or actual device plugged into your computer. When a camera is directly connected to the device, it will show up on the left hand side. Once the camera is removed from the device, so too will the available device folder disappear from view.
Creating import presets can speed up this process and is highly recommended.
The left side of the screen is where images can be selected or grabbed from and the right side of the screen features as the destination with import settings that can be modified. The middle section shows all of the images that will be imported.
Lightroom can recognize the difference between a permanent storage, card reader or actual device plugged into your computer. When a camera is directly connected to the device, it will show up on the left hand side. Once the camera is removed from the device, so too will the available device folder disappear from view.
Creating import presets can speed up this process and is highly recommended.
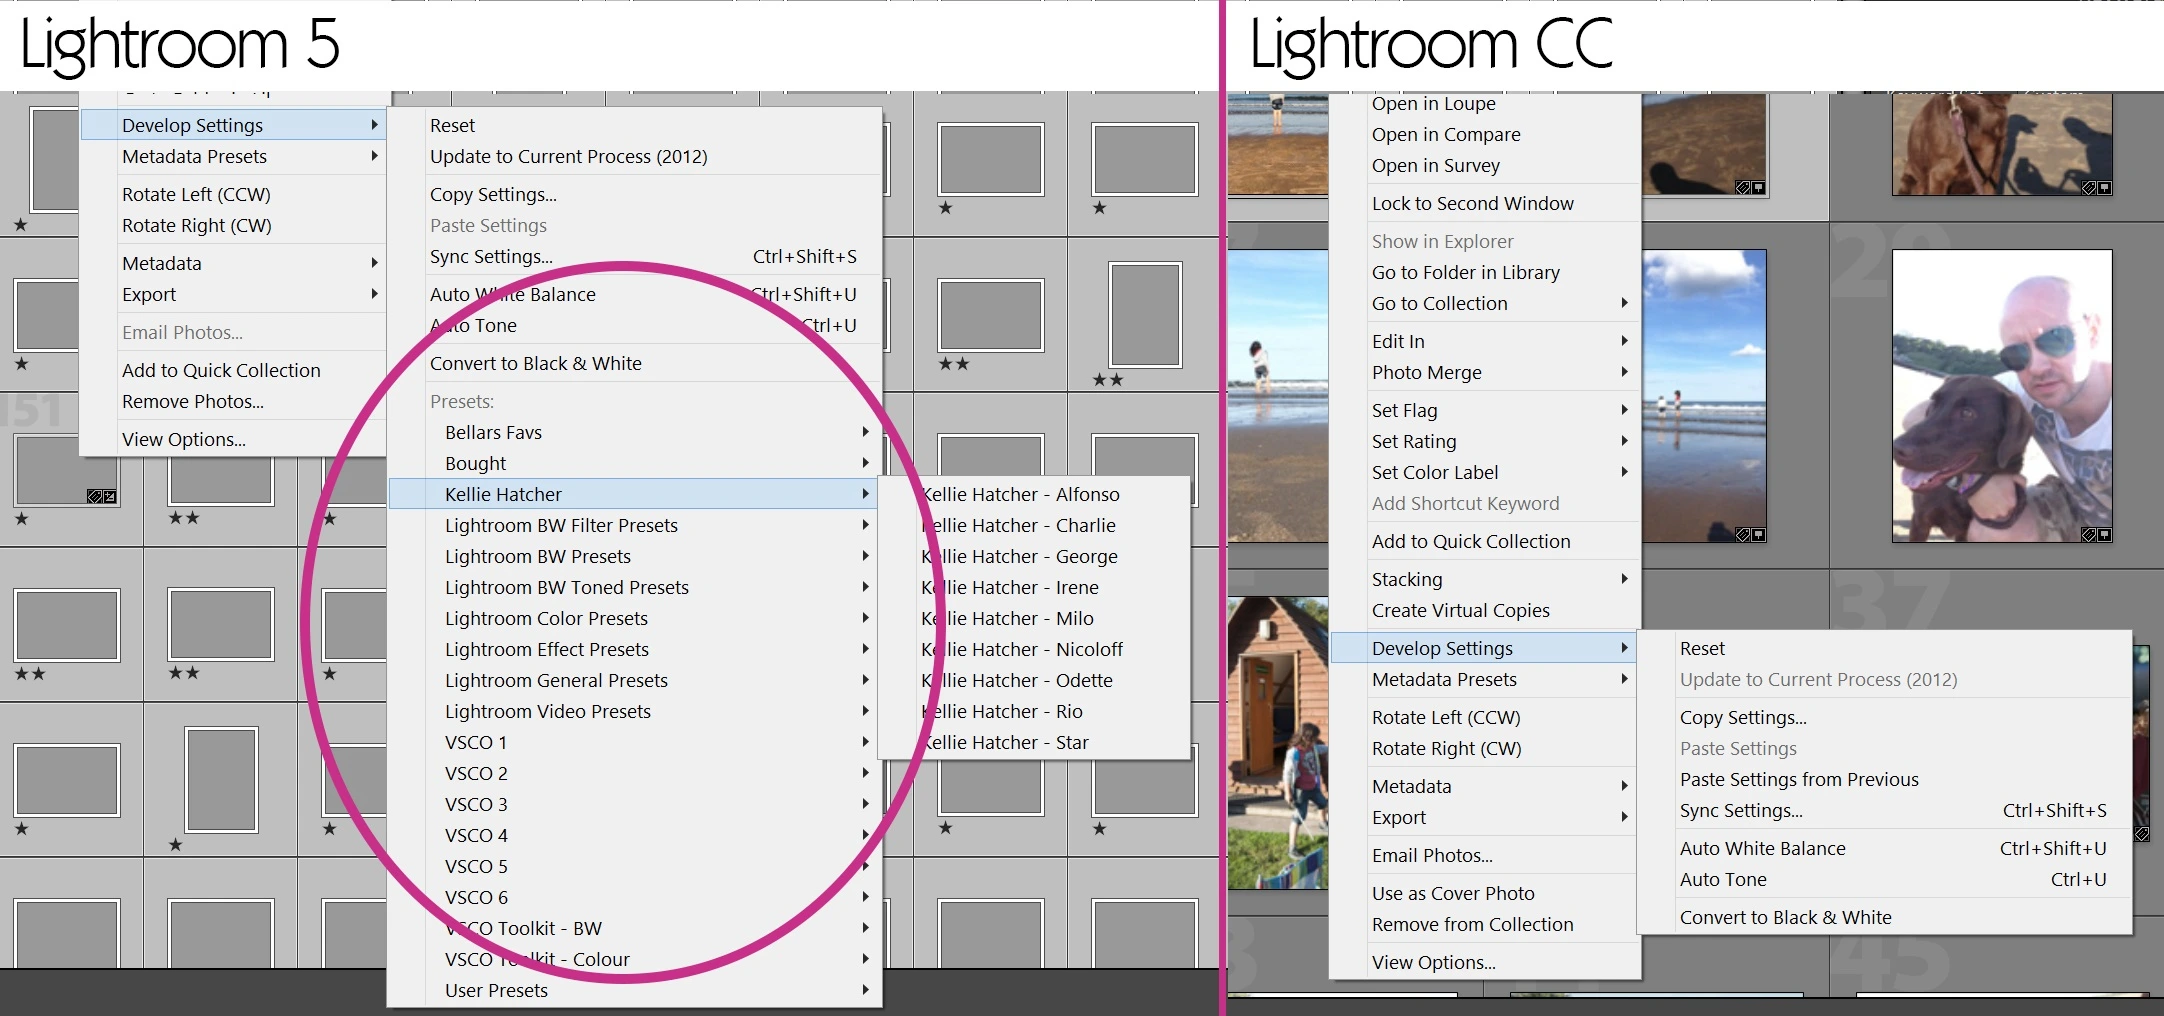 An effective process to use is to flag the images that need to be rejected. Right clicking on an image and selecting “Flag > Set Flag” will gray out the image and add a black flag in the left corner. This process makes distinguishing between the images that must be kept and the images that need to be discarded simple and effective.
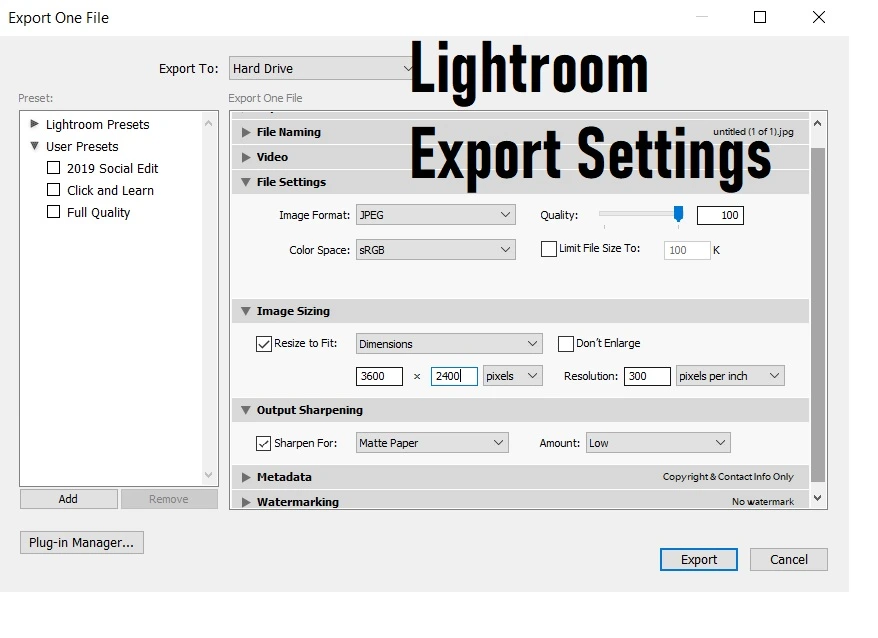 Once all of the images to be exported are selected, go to “File < Export”. The settings box will allow you to customize the image export settings as per the requirement. Whether it is for print, social media or the web, Lightroom allows the user to customize the settings for the best optimization of the image.