
Start with the job you want to automate. If a new order should start a flow, use a WooCommerce event starter. If a flow should create a draft product with a featured image, use a direct action. Both are available through Sitetrail’s Studio Connector for WooCommerce, with different setup requirements.
Choose the right route
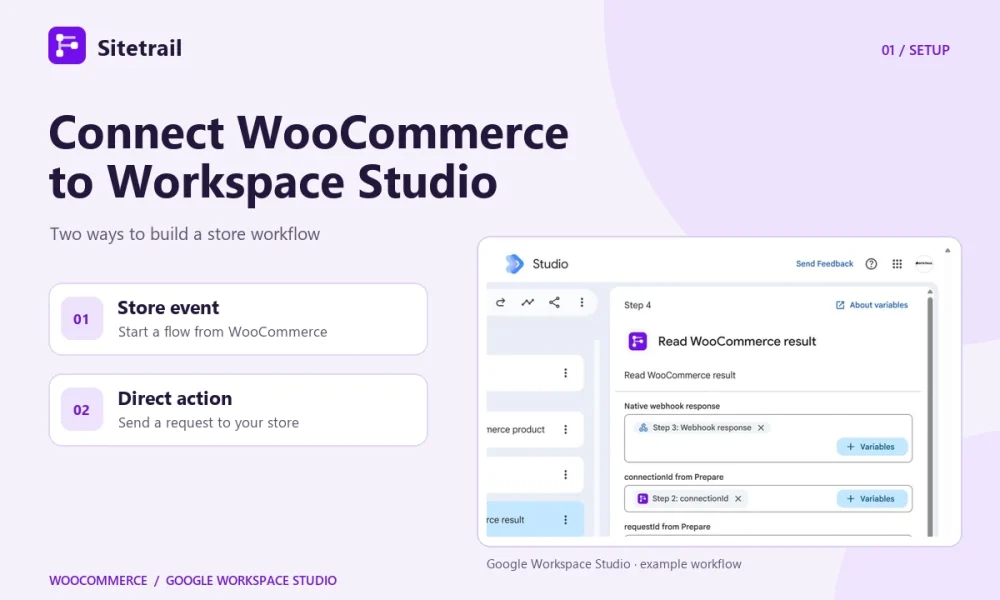
- Start a flow from a store event. WooCommerce can start a flow on a new order, an observed order-status change, a new registered customer, a product update or a managed-stock threshold crossing. Studio can pass the event fields to native steps such as adding a row in Google Sheets or posting in Google Chat.
- Send an action to the store. The direct route uses the Sitetrail Studio Bridge plugin. It can create or update products and variations with images, among other store actions. Google sends the prepared request to your paired store, and the bridge returns the result to Google.
If your flow only needs a starter or an existing API-key action, follow the event starter and API-key setup guide. To build a flow that creates a product with images, follow the direct setup below.
Connect your store for a direct action
- Check your Google account. Use the Marketplace listing to check availability for your account. Open Workspace Studio with the account that will run the flow. Check that you have access to the connector’s cards and can add Google’s Send a webhook step. Your administrator may need to enable the step, allow your store’s URL, or configure approvals. Check this before subscribing.
- Install the bridge and pair your store. Download the Sitetrail Studio Bridge from the product page and upload it through Plugins → Add Plugin → Upload Plugin in WordPress. Open Google Workspace Studio Connector → WooCommerce Connector. Follow the connection prompts as the store connection owner, then run the connection check.
- Prepare a draft product. In an available Studio flow, add Prepare WooCommerce product, choose the paired store and enter a stable request reference such as
setup-draft-001. Use a distinctive test name, select simple, enter a regular price such as 24.00, and set visibility to draft. If you add an image, start with one small, accessible HTTPS JPEG, PNG or WebP file. - Send the prepared request. Add Send a webhook with method POST. Use the exact HTTPS endpoint for the paired store as the fixed destination. Insert Prepared payload as the entire payload. The bridge checks that the inputs match the signed request, so send the prepared value as supplied.
- Read and verify the result. Add Read WooCommerce result. Map the Native webhook response from Google’s step. From Prepare, map the connection ID, request ID, site URL and action into their matching fields. Check the returned product ID and edit URL, then open the draft in WooCommerce and confirm the fields and image.
What a successful connection check tells you
Pairing verifies the connection to the store. A completed draft test also verifies that Studio can reach the endpoint and that the store’s local permissions allow the action. If Send a webhook is missing or the run waits for approval, start with your Workspace administrator’s webhook settings. If the webhook fails after sending, inspect the store and the bridge’s recent request errors before retrying. Use the same reference and inputs for the same intended action.
If you use the bridge connection only for direct actions, leave Send WooCommerce events off. Enable it if you need event starters. Once enabled, the store can send event records even when no Studio flow is listening. Direct action content travels between Google and the store. Enabled store events and legacy API-key actions pass through Sitetrail’s connector service.
See the WooCommerce connector and its requirements · View the Google Workspace Marketplace listing · Open the direct-action setup guide