We live in an age where being online has become crucial to our lives and businesses. The mass need for less specialized websites and a basic web presence made way for companies like Wix to grab a share of the lower-end of the market.
Our take is this: For a simple web presence or “placeholder”, Wix can be great.
However you will no doubt be frustrated by Wix if the need for custom features, powered by attentive design and web development is needed. Wix is more of a “DIY” outfit for really basic start websites.
Building websites for the masses - the Wix approach:
Anyone providing a service, whether an individual or a business can only benefit from a website that is striking, professional and entices clients or customers to want to do business with the brand. Long gone are the days where only IT professionals with a knowledge of coding are able to create websites that can compete with the best of the best. Website builders such as Wix have made it easy for anyone who wants to build a website by making use of a variety of templates and an incredibly easy drag-and-drop builder.
What is Wix?
Founded in 2006 and with over 150 million users worldwide, the Wix site is one of the leading web builders on the market. The templates cater for over 500 different industries and are customizable in varied degrees which means anyone will be able to find something that will suit their specific need. Having the right guide and framework in place will go a long way in ensuring the design of a successful website.
Take a tip from our Geek Team: If you consider the need for a website to load fast by means of better server response times and faster-loading code, along with the need to have something that is easy to edit for your team – then perhaps Wix (and Wix E-commerce) are not your best choices. Leaning towards a WordPress & Woocommerce integrated site with a custom appeal, may be a more sustainable path in the long term.
Let our team build a beautiful SEO optimized WordPress website for you.
Rank better on Google
Have E-commerce functionality
Let Affiliates drive traffic to you
Here is a step-by-step guide to follow for creating a website using WIX:
STEP1:Create a WIX account
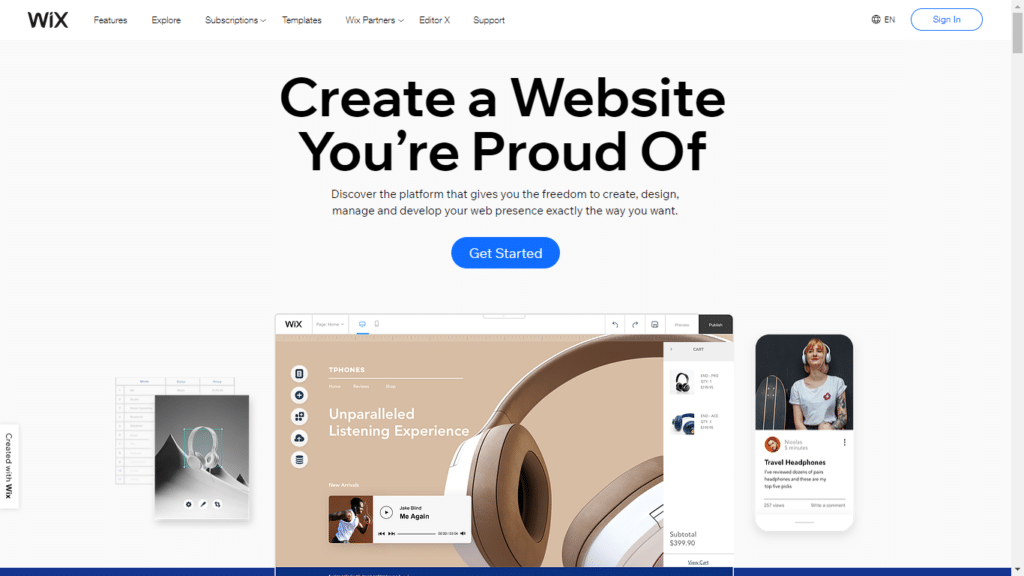
The first step is to set up an account. Open the Wix homepage and select the “Get Started” button.
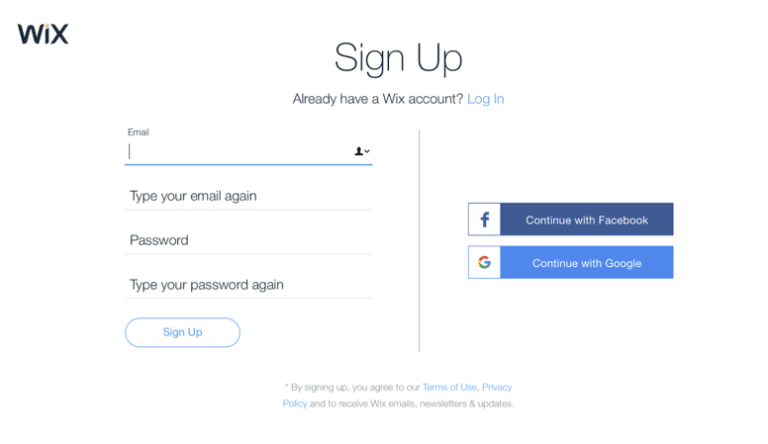
You will then be navigated to a page like the one below.
The only requirement for signing up is a valid email address and a password. After the sign up is completed, the site will then require some additional information regarding the type of website you are trying to create.
These questions are optional, but can be very helpful in creating a website suited to your needs.
1.Who are you creating a Wix website for?
-Myself
-A client
-A company I work for
-Someone else
2.What type of site do you need?
-Blog
-Business
-Online store
-Music
-Photography
-Designer
-Portfolio & CV
-Restaurant & Food
-Other
3.What is your level of experience?
-Built sites professionally
-Created many sites
-Built a few websites
-Never done this before
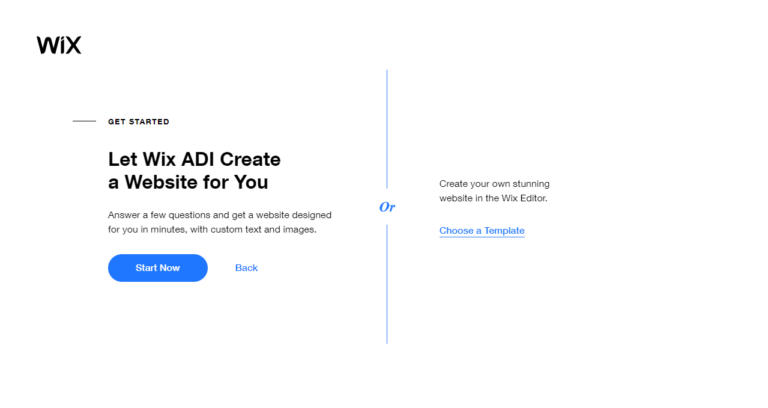
Form here Wix will give you two options:
1.Let the Wix ADI create a website for you. Answer a few questions and Wix will create a website suited to your specific needs based on your answers. This is a great option for newbies to website design.
2.Create a website using a template. You will be able to go through a bunch of Wix templates already created and select one that you like. You can customize the template to suit your specific requirements.
STEP2: Let Wix ADI create a website for you
If you have never designed a website before, the ADI creator is a great option. By answering a few simple questions your website will be created for you.
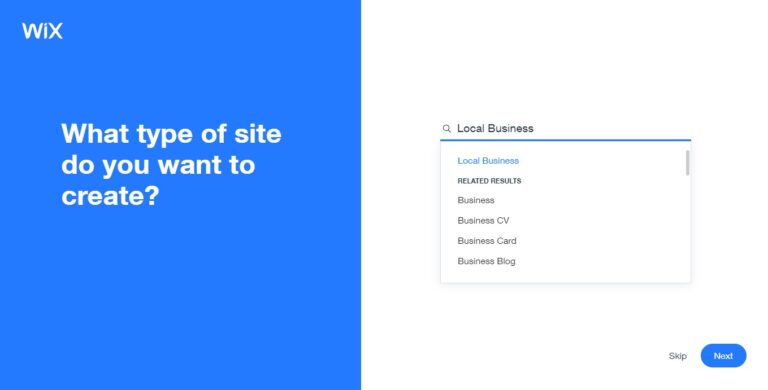
Depending on the type of website you chose in the previous questions, you will be asked to narrow it down even further as per the example below.
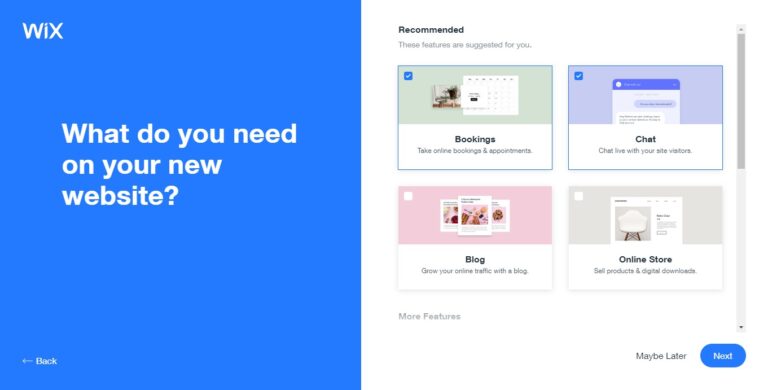
After making your selection, Wix will recommend some key features that you might require. If you are not sure about what features the website will need, you are able to come back later and add them in.
The next step will be to enter the name of your website. If you haven’t thought of a name yet, don’t worry. You can always come back and change it later. Your website will be completely private until you publish it which gives you time to secure a domain and think of a name if you haven’t already.
Wix will also ask you to import any existing data that you would like to use. Here you are able to add in the link to an existing website or your business location on google maps. If you don’t have any of these to add then just click on the next button.
A summary of the information you have entered already will show here. You are able to review and edit the information as well as add a company logo.
No logo? No problem. You are always able to add in elements at a later stage when you are ready. If you don’t have a certain aspect of your website figured out yet, don’t let that discourage you. There is no time limit on how fast your website needs to be created and running so you can rest easy and take your time getting all the elements ready.
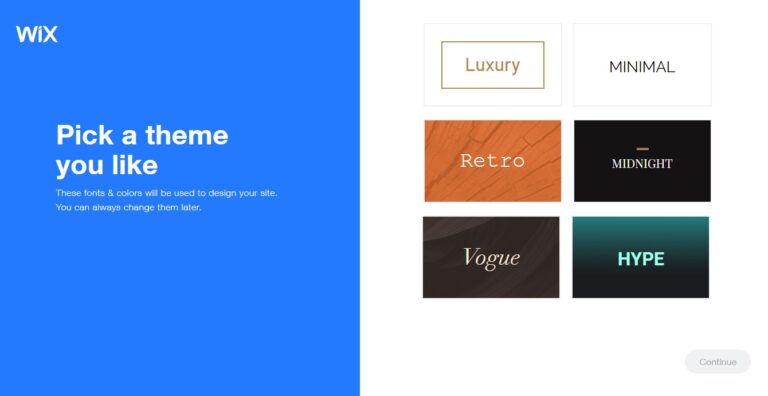
On to the fun part. Choose a theme. Wix will provide you with a few options to choose from.
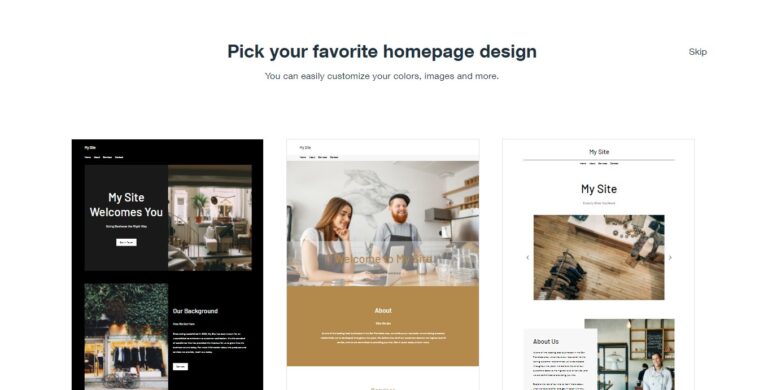
I have selected the “Chic” theme and based on all my information entered so far, the Wix ADI will give me some homepage designs to choose from as per the below image.
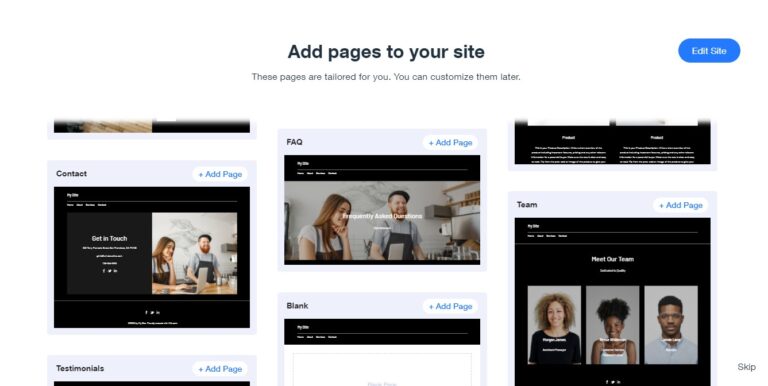
The next step is to add some pages to your site based on the homepage design that you chose. I chose the first option so below are some page suggestions that I can choose from. You can always add or remove pages later, but you will probably add some basic pages such as a “contact” and “about” page which most websites have. Once you have made your selections, click the “Edit Site” button at the top of the page.
And it is as easy as that. Wix will create a website based on your answers and selections. From here you can edit and write content customized to your business, change or add pictures as well as complete some other customizations that you might need.
Now let’s take a look at building a Wix website by using the template option instead of the ADI.
STEP3: Create a website using the editor
If you have some basic website design knowledge this option will give you more freedom in terms of customization. When faced with the option below, select the “Choose a template” button.
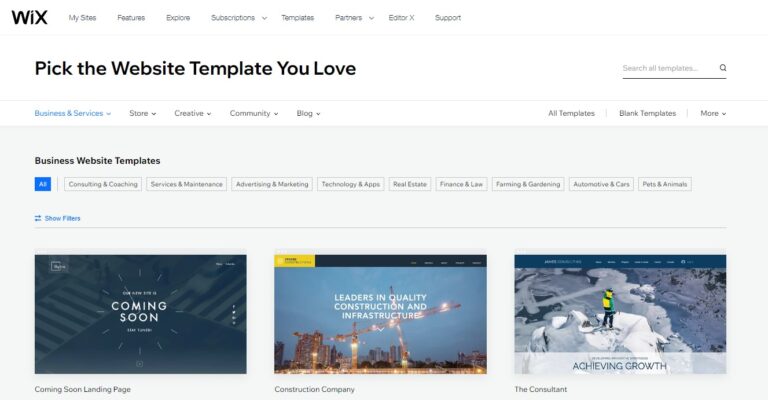
There are a variety of pre-designed templates to choose from. You can enter a keyword into the search box to look for templates designed specifically for your type of business to narrow down the search.
Once you have found a template that you like, you are able to view a demo version of the site by hovering over the image and clicking the “view” button. This is similar to test driving a car before you buy it. You can navigate the website and it’s features to make sure it meets your requirements and functionality.
When you have found a template that puts a smile on your face, you can click the “edit” button when you hover over the template image so you can get started on the customization.
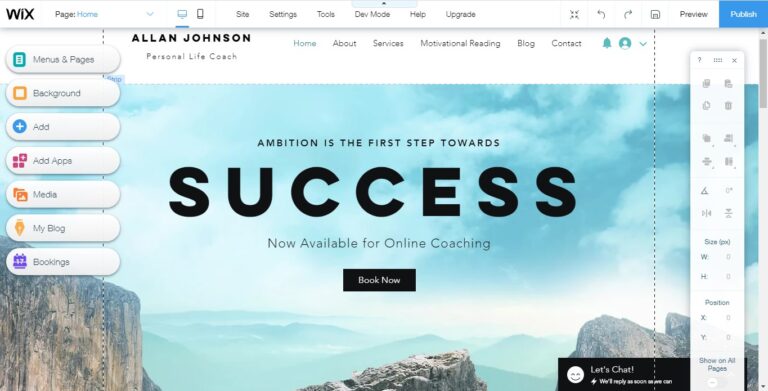
The website editor will look like this:
I have selected a template for an online shop. The buttons on the left of the page are for navigation. Depending on the customizations your template allows, the navigation buttons might be slightly different. Let’s look at some of the navigation menus.
Menus and pages
Here you can add, delete or rename pages. You are also able to create sub-page or change page settings.
Background
As the title suggests, you will be able to customize your background image by selecting a Wix image or uploading your own. If you prefer to have a solid background color instead of an image, this can also be done here.
Add
Clicking this button will give you an array of elements to choose from for your website such as adding buttons, text, video & music, events and many more as shown in the image below.
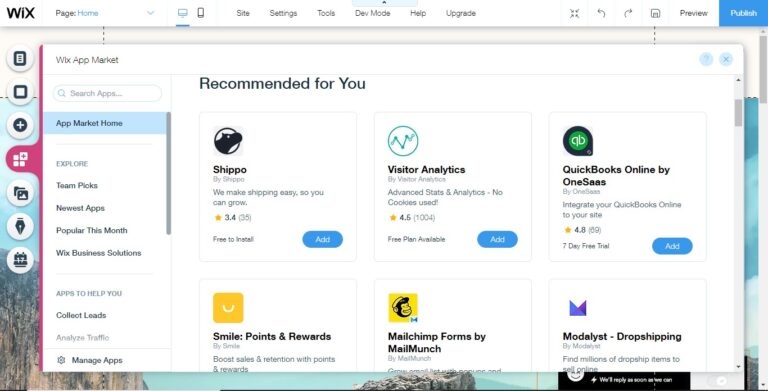
Add Apps
This is a great function where you can add subscription forms, payment functions, site boosters, testimonials and many more. Keep in mind that too many apps can slow down your site or make it look messy so choose only the ones that you will definitely need.
The navigation bar is pretty self explanatory, so feel free to click on all the menu options and brows around for the different elements you can add to your site. Keep in mind that Wix was designed to keep things as simple as possible so you should be able to navigate and edit your site without any complications.
Once your website is designed the way you like it, it’s time to focus on the fourth step.
STEP4: Making your site mobile friendly
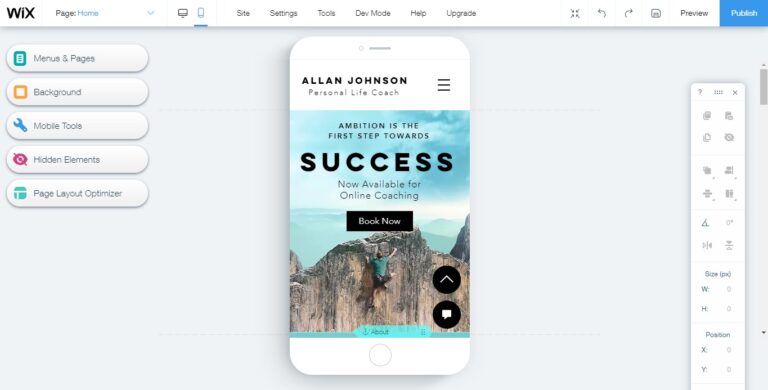
Most of the web traffic comes from mobile devices. People are constantly on the move and smartphones allow them to access websites from any location. It is therefore a must to ensure your website is compatible for mobile devices. This means your website should be easy to view, read and navigate from a mobile device.
This is how you do it. At the top of the screen, click on the mobile device icon which will automatically change your page to look something like this.
Most of the Wix templates are mobile friendly and Wix will automatically optimize your site for mobile devices. It is however a good idea to go through all the pages in case you need to make a manual change.
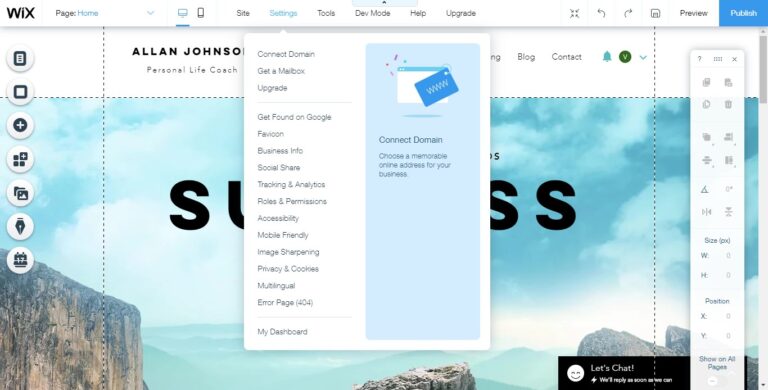
STEP5: Connect your domain
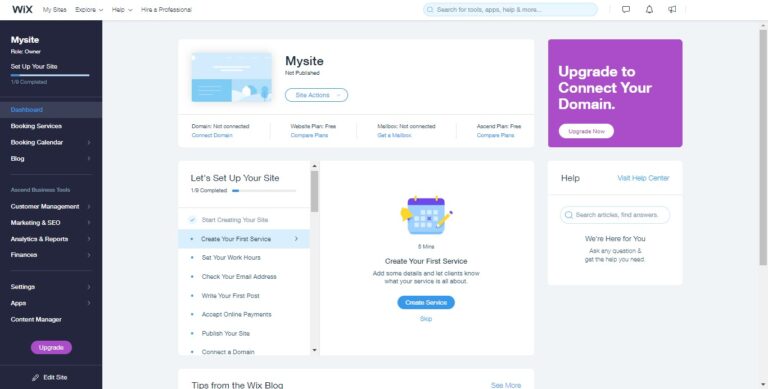
Before your site can be published, you will need to connect your domain. A domain is your site address for example the wix domain is www.wix.com. You can do this by going to “Settings” and then navigating to “Dashboard”.
You will be navigated to a page that looks like the below. From here you can select the “connect a domain” option and follow the steps.
The default domain name given will be: yourusername.wixsite.com/mysite
You are able to use this domain name for free, however it is advisable to create a custom domain name to give your site a more professional look. Think of how many sites you have been to that uses the Wix free domain? It’s worth investing in a proper domain name.
Wix let’s you create a site for free, but eventually you will want to upgrade to the premium package which lets you link your unique domain name. Check out the Wix pricing options on the website which start from as little as $4.50 per month.
Once you have connected your unique domain name it is time to press that “Publish” button and introduce the world to your site.
Conclusion
It really is that easy to create a website with Wix. In only 5 easy steps, you can create a website that looks professional for a fraction of the cost of hiring a web design company. Just to recap:
1.Create a Wix account.
2.Let Wix ADI create a site or choose a template to customize with the editor.
3.Make your site mobile friendly
4.Connect your domain
5.Click publish.
That is it! Why not get your creative juices flowing and start creating the website of your dreams today.
For better alternatives to Wix, you may want to consider building a WordPress site with any of the theme builders – even Elementor, or even a custom web design to get the best results.