

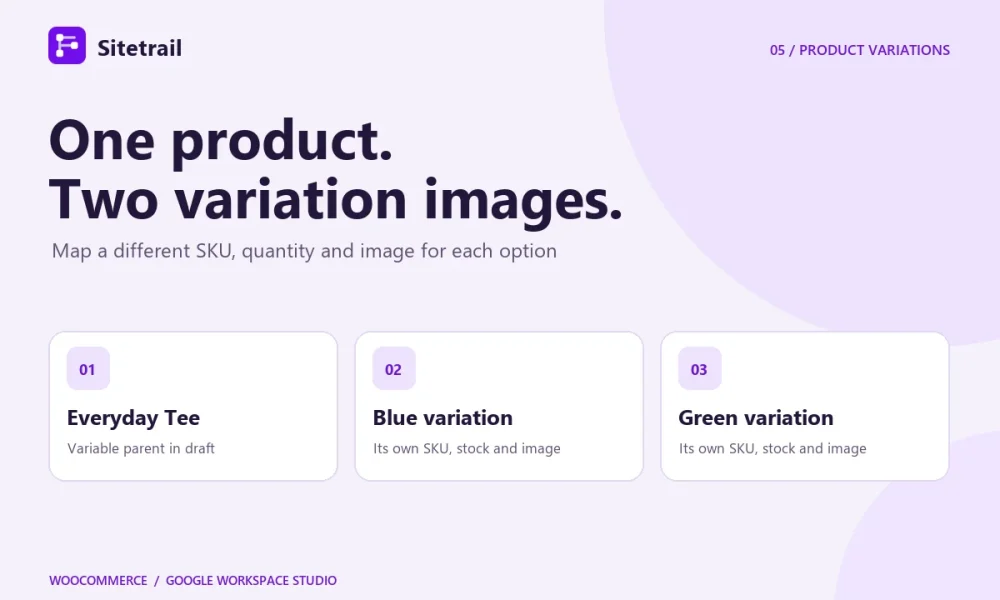
To create a shirt in two colors, first create one variable product and define its color options. Then create each variation under that parent. Sitetrail’s direct actions let you map a different SKU, price, stock quantity and image for each variation. You can review the entire product in WooCommerce while the parent stays in draft.
This recipe uses the direct WooCommerce cards, a paired Sitetrail Studio Bridge and Studio’s native Send a webhook step. See the direct-action setup guide for connection and webhook requirements.
Plan what belongs on the parent
Put the shared product name, description, featured image and gallery on the variable parent. Put the option, SKU, price and variant-specific image on the variation. In this example, the parent is Everyday Tee, the attribute is Color, and the options are Blue and Green. Give each variation a distinct SKU, such as TEE-BLUE and TEE-GREEN.
Decide where WooCommerce should track quantity. If blue and green have separate inventory, enable managed stock on each variation and give each its own quantity. If your store shares one stock pool across colors, configure inventory at the parent level instead. See the WooCommerce guide to variable products.
Define the attribute and its options
In the parent’s Attributes JSON field, use an array with the attribute name and its available options.
[{"name":"Color","options":["Blue","Green"]}]For each variation, use the same attribute name with one selected option. The Blue variation uses the following array. The Green variation uses Green in the option field.
[{"name":"Color","option":"Blue"}]Create the parent, then add the variations
- Prepare the variable parent. In Prepare WooCommerce product, set Product type to variable and Visibility to draft. Use a stable reference such as
everyday-tee-parent. Put the parent array in Attributes JSON. Add the parent’s featured image or gallery if you have them ready. - Send the parent action. Use Google’s Send a webhook to POST the prepared payload to the paired store’s bridge. In Read WooCommerce result, map the native webhook response and Prepare’s connection ID, request ID, site URL and action. Use the returned Product ID as the parent ID for the next action.
- Create the Blue variation. Add Prepare WooCommerce variation. Map the saved parent ID into Product / parent ID. Use a separate reference such as
everyday-tee-blue, enter the Blue SKU, regular price and stock settings, and supply an accessible HTTPS image URL or an attachment ID from that store. Put the Blue selection in Attributes JSON, then add its own Send a webhook and Read WooCommerce result steps. - Create the Green variation. Use the same parent ID, set the option to Green, and use the Green SKU, price, stock and image. Give this create action its own stable reference, such as
everyday-tee-green. The parent’s list of options defines what can be selected. Each variation is created by its own action.
Verify the IDs before updating a variation
Open the draft product in WooCommerce and check both entries under Variations. Confirm each has the intended SKU, price, stock and image. Save the variation IDs from the results. To replace the Blue image later, use Prepare WooCommerce variation update with both the parent ID and the Blue variation ID. The parent’s featured image and gallery are configured separately.
If you rerun the same workflow after a transient failure, keep each action’s reference and inputs unchanged. For an intentional change to a saved variation, use its ID and a new reference for that update.
Explore WooCommerce variation and image actions · View the Google Workspace Marketplace listing